If you’re working on a design project in Adobe Illustrator, you might find yourself wanting to use a specific font that isn’t available in the default selection. Fonts can play a critical role in defining the look and feel of your design, making your work stand out and communicate more effectively with your audience. Whether you’re designing a logo, creating a website, or crafting promotional material, fonts help set the tone for your project. Fortunately, Adobe Illustrator makes it incredibly easy to insert and use custom fonts, expanding your creative possibilities and providing more tools to express your vision.
In this blog post, we’ll guide you through the process of how to insert fonts into Adobe Illustrator, ensuring your designs are as unique and personalized as your vision. By the end, you’ll understand the complete workflow, from downloading fonts to troubleshooting common issues, so you can work more efficiently and effectivel.
Why Insert Fonts into Adobe Illustrator?
Adobe Illustrator is a powerful tool for creating vector graphics, but its impact is significantly enhanced when you have access to a diverse range of fonts. By learning how to insert fonts into Adobe Illustrator, you can:
- Customize Your Designs: Use unique fonts to give your designs a distinctive look.
- Match Brand Guidelines: Ensure consistency by using specific fonts required by your brand or client.
- Enhance Creativity: Experiment with different fonts to discover new design possibilities.
Step-by-Step Guide to Insert Fonts into Adobe Illustrator
Inserting fonts into Adobe Illustrator is a straightforward process that can open up a world of creative possibilities. By following these simple steps, you’ll be able to easily add new fonts to your projects and enhance your designs.
Step 1: Download the Font
Step 2: Install the Font on Your Computer
Step 3: Restart Adobe Illustrator
Step 4: Use the Font in Adobe Illustrator

Step 1: Download the Font
The first step in learning how to insert fonts into Adobe Illustrator is to download the font you want to use. You can find free and paid fonts on websites like:
- Google Fonts
- DaFont
- FontSquirrel
- Adobe Fonts (formerly Typekit)
Make sure to download the font in a format that Adobe Illustrator supports, such as .TTF (TrueType Font) or .OTF (OpenType Font).
Step 2: Install the Font on Your Computer
Once you’ve downloaded the font file, you need to install it on your computer. Here’s how to do it on both Windows and Mac:
For Windows:
- Locate the downloaded font file in your “Downloads” folder or the folder where you saved it.
- Right-click on the font file and select “Install” from the context menu.
- The font will be installed and available for use in all applications, including Adobe Illustrator.
Also Read: How to Use Install Fonts in Illustrator on Mac and Windows
For Mac:
- Open the “Finder” and navigate to the location where the font file is saved.
- Double-click the font file to open the Font Book application.
- In the Font Book, click the “Install Font” button to add the font to your system.
Step 3: Restart Adobe Illustrator
To ensure that Adobe Illustrator recognizes the newly installed font, you need to restart the application. Simply close Adobe Illustrator if it’s open, and then reopen it.
Step 4: Use the Font in Adobe Illustrator
Now that the font is installed and Adobe Illustrator has been restarted, you can insert the font into your design. Here’s how to do it:
- Open your project in Adobe Illustrator or create a new document.
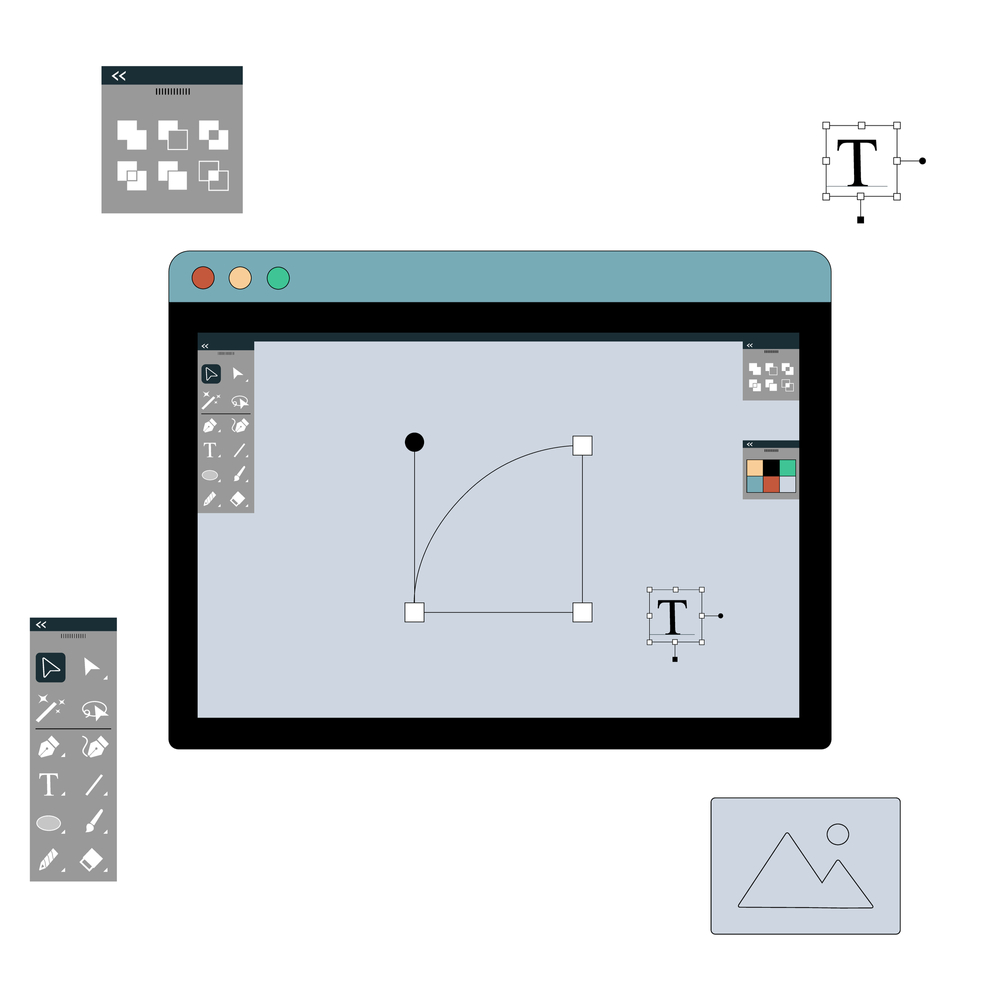
- Select the “Type” tool from the toolbar on the left or press the “T” key on your keyboard.
- Click anywhere on the artboard to create a text box.
- Type your text into the text box.
- With the text selected, go to the top toolbar and click on the font drop-down menu.
- Scroll through the list or type the name of your newly installed font to select it.
- Once selected, the text in your text box will change to the new font, and you can continue customizing it as needed.
Also Read: How to Install Missing Fonts in Adobe Illustrator
Tips for Using Fonts in Adobe Illustrator
Now that you know how to insert fonts into Adobe Illustrator, here are some additional tips to help you make the most of your fonts:
Also Read: How to Convert Text to Path in Adobe Illustrator?
- Pair Fonts Thoughtfully: When using multiple fonts in a design, ensure they complement each other to maintain visual harmony.
- Check for Licensing: Some fonts require a license for commercial use. Always check the font’s licensing terms to avoid legal issues.
- Use Font Preview: Adobe Illustrator allows you to preview fonts directly in the font menu. This can save you time when choosing the perfect font for your design.
- Convert Text to Outlines: If you’re sharing your file with others who might not have the same fonts installed, consider converting your text to outlines. This ensures that your text appears exactly as intended, even if the recipient doesn’t have the font installed.
Also Read: How to Convert Text to Shape in Adobe Illustrator
Common Issues When Inserting Fonts into Adobe Illustrator
Even though inserting fonts into Adobe Illustrator is straightforward, you might encounter a few issues. Here’s how to troubleshoot them:
- Font Not Showing Up: If the font doesn’t appear in the list, ensure it’s installed correctly and that you’ve restarted Adobe Illustrator.
- Corrupted Font File: If the font file is corrupted, download it again from a reliable source and reinstall it.
- Compatibility Issues: Ensure that the font file format (.TTF or .OTF) is compatible with your operating system and Adobe Illustrator.
Also Read: How to Convert Fonts to Outline in Adobe Illustrator
Conclusion
Learning how to insert fonts into Adobe Illustrator is a valuable skill that enhances your ability to create unique and compelling designs. By following the steps outlined in this guide, you can easily add new fonts to your projects, giving you greater flexibility and creativity. Remember, the right font can make a significant difference in the overall impact of your design, so take the time to explore and experiment with different options.
Now that you know how to insert fonts into Adobe Illustrator, it’s time to unleash your creativity and elevate your design projects to the next level.
Disclaimer
The information on this blog or website is for general informational purposes only. While READOBIT makes great efforts to keep the information accurate and up-to-date, we make no guarantees of any kind, express or implied, about the accuracy, completeness, reliability, or suitability of the information. READOBIT and their team do not take any guarantee of anything on the website. Any reliance you place on such information is strictly at your own risk. You will read or share this information on your own behalf. READOBIT will not be liable for any errors or omissions in this information or for any losses or damages arising from its use. If you are using this information, you need to verify the data with your own experts.


